Garlic Butter Quinoa
5m easy
gluten-free vegetarian
Fragrant quinoa pilaf baked with roasted garlic, caramelized shallots, fresh herbs, and toasted almonds. Vegan, gluten-free, and makes an elegant side dish.
Roasted garlic changes everything it touches. Raw garlic is sharp and pungent. Roasted garlic is mellow, sweet, almost caramel-like, with a depth of flavor that transforms a simple quinoa side dish into something genuinely elegant. This pilaf takes advantage of that transformation, combining roasted garlic with caramelized shallots, fresh herbs, and a bright hit of lemon to create a side dish that holds its own next to any main course.
The word pilaf refers to a specific technique, not just a name. In a true pilaf, the grain is toasted in fat before liquid is added. This step coats each grain in oil, which serves two purposes. First, it develops a deeper, nuttier flavor through the Maillard reaction on the surface of each grain. Second, it creates a barrier that helps the grains stay separate and fluffy rather than clumping together into a sticky mass.
For this recipe, the quinoa is toasted in olive oil along with caramelized shallots, then braised in vegetable broth in the oven. The oven provides gentler, more even heat than the stovetop, which means less risk of scorching the bottom layer and more consistent results. If you are used to cooking quinoa entirely on the stovetop, the oven method is worth trying. For a comparison of methods, see our how to cook quinoa guide.
Roasting a head of garlic takes about 30 minutes of oven time but only about one minute of active effort. Slice the top off, drizzle with oil, wrap in foil, and let the oven do the work. The result is soft, spreadable cloves with a flavor completely different from raw garlic. Where raw garlic is hot and sharp, roasted garlic is sweet and savory with a richness that is almost buttery.
You can roast the garlic at the same time as the quinoa bakes since they use the same oven temperature. Start the garlic first since it needs more time. By the time the quinoa is done, the garlic will be perfectly roasted and ready to mash into the finished pilaf.
One head of garlic yields about two tablespoons of roasted paste, which is enough to flavor the entire pilaf without being overwhelming. If you love garlic, roast two heads and use the extra on bread, stirred into hummus, or mashed into butter. Roasted garlic keeps in the refrigerator for up to a week.
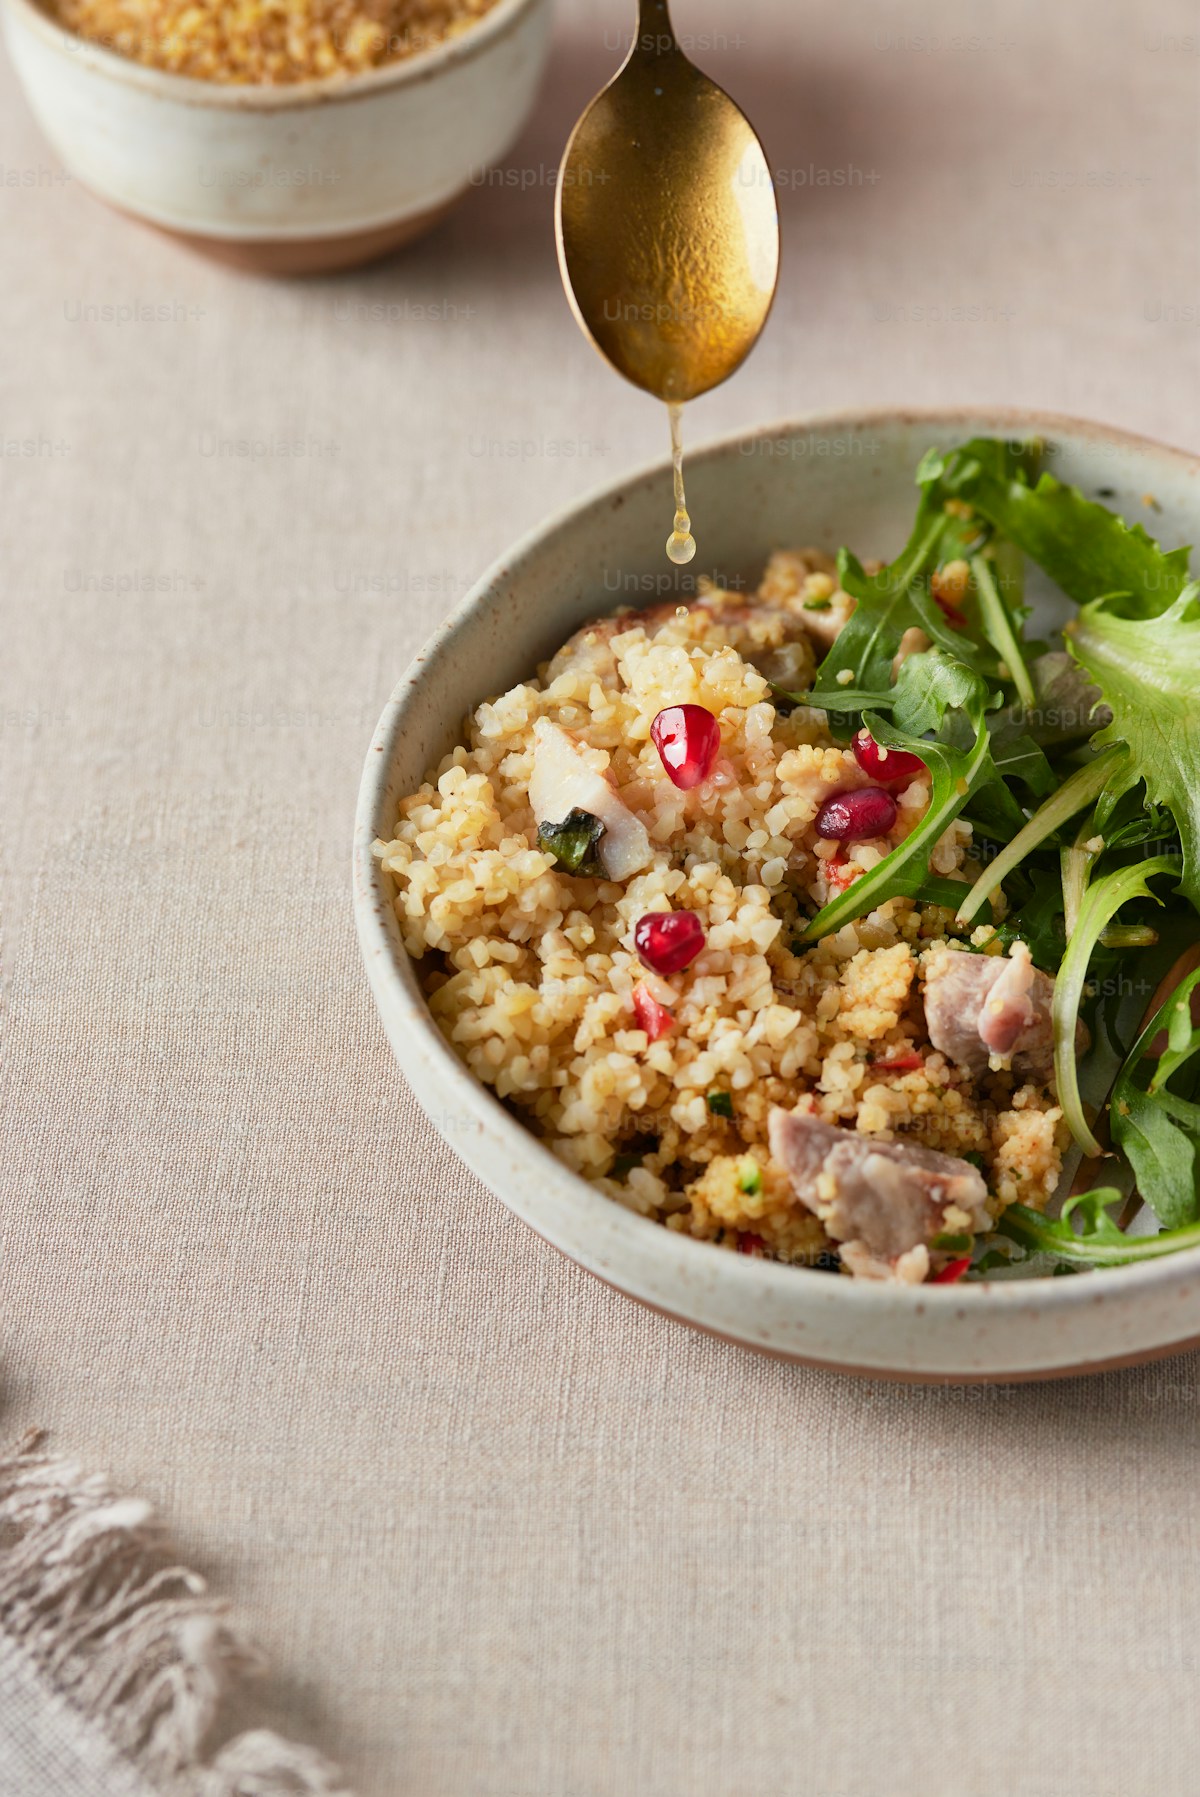
This pilaf earns its depth through layered flavors that build at each stage of cooking. The shallots caramelize first, creating a sweet aromatic base. The quinoa toasts in that base, picking up the shallot flavor. The broth and herbs infuse during the oven braise. Finally, the roasted garlic, lemon, and fresh parsley are folded in at the end, adding brightness that keeps the dish from feeling heavy.
The fresh herbs matter here. Thyme and rosemary go into the broth and cook with the quinoa, mellowing and releasing their oils throughout the dish. The parsley is added at the end as a finishing herb, providing freshness and color. If you only have dried herbs, use about one-third the amount specified for fresh. The flavor will be slightly different but still good.
The lemon zest and juice are the finishing touch that ties everything together. The zest adds fragrant citrus oil without acidity. The juice adds brightness that lifts the earthy flavors of the garlic and herbs. Do not skip this step. Without it, the pilaf tastes flat.
This pilaf is versatile enough to serve alongside almost any protein. It pairs naturally with roasted chicken, grilled lamb, seared salmon, or pan-fried tofu. The Mediterranean flavors also make it a natural companion to dishes with olives, tomatoes, capers, or feta.
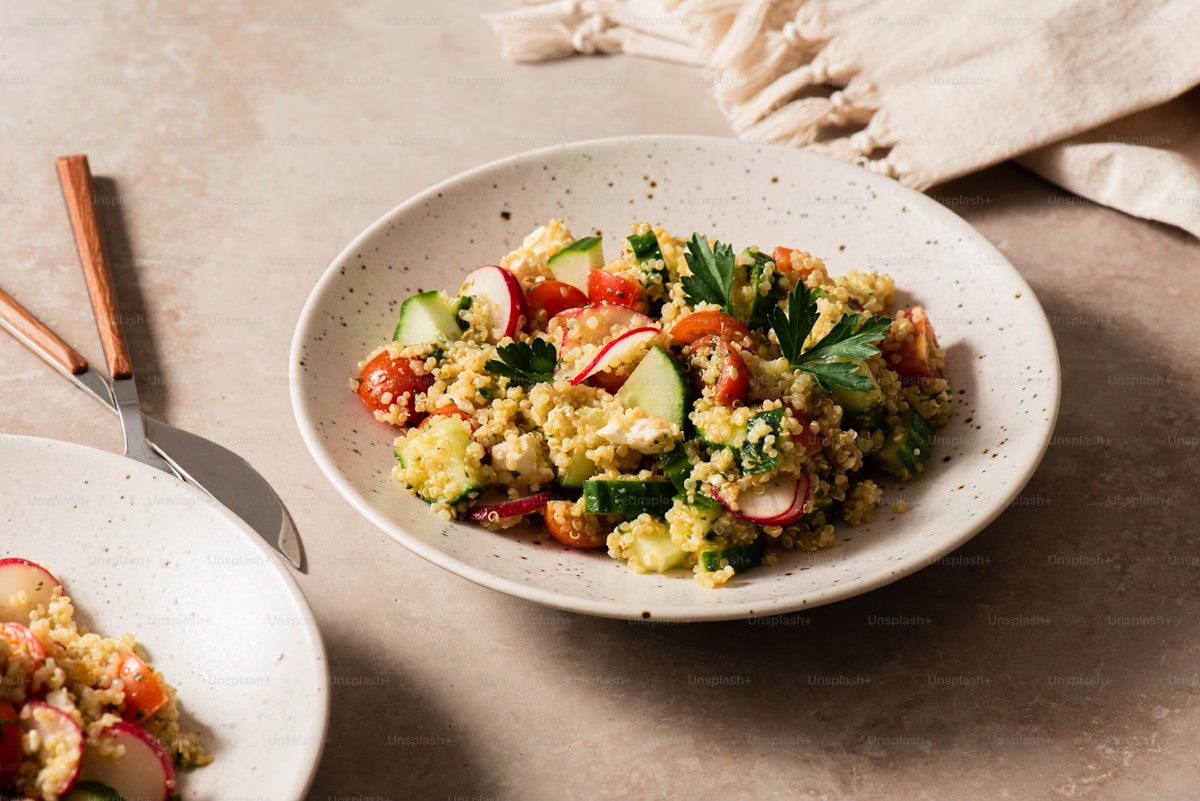
As part of a multi-side spread, serve it alongside a fresh salad for contrast. Our mediterranean quinoa salad served cold next to this warm pilaf makes an excellent pair on a dinner table.
For a simpler weeknight pairing, this pilaf works beautifully with garlic butter quinoa philosophy taken to the next level. Where garlic butter quinoa is quick and straightforward, this pilaf is a more refined take on the same garlic-quinoa combination.
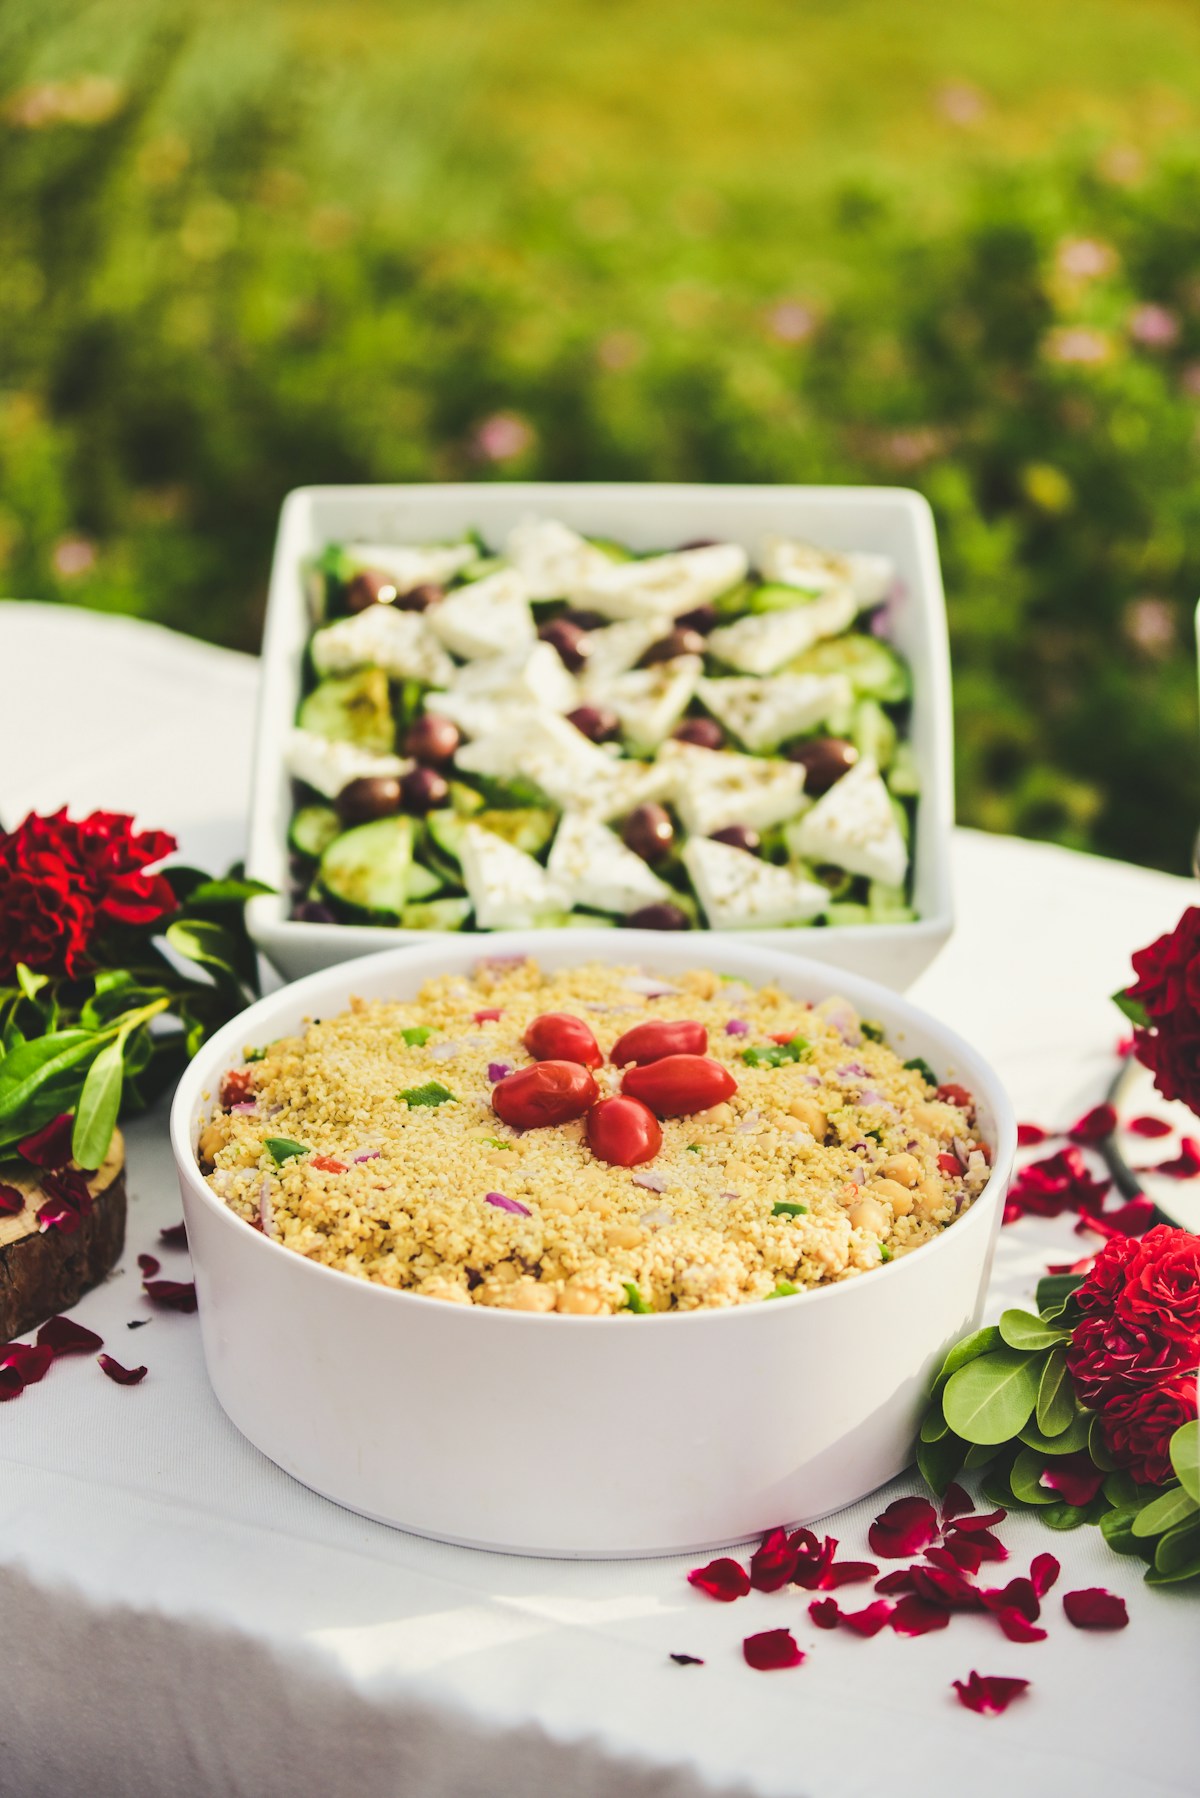
The pilaf also works at room temperature, which makes it practical for potlucks, holiday tables, and meal prep. It holds up well without refrigeration for several hours and tastes good even after sitting out, unlike rice pilafs that can go stale quickly.
Mushroom version. Add one cup of sliced cremini mushrooms to the skillet after the shallots have softened. Cook for 4 to 5 minutes until the mushrooms release their moisture and brown slightly. Proceed with the recipe as written. The mushrooms add an earthy, meaty quality.
Pine nut swap. Replace the almonds with pine nuts for a more traditional Mediterranean flavor. Toast them carefully since they burn even faster than almonds. Pine nuts have a richer, more buttery taste that complements the roasted garlic beautifully.
Sun-dried tomato. Fold in a quarter cup of chopped sun-dried tomatoes (the oil-packed kind, drained) along with the roasted garlic at the end. They add sweetness, chewiness, and a pop of color.
Herbed butter finish. For a non-vegan version, stir in a tablespoon of cold butter at the very end along with the garlic and lemon. It melts into the warm quinoa and makes the pilaf richer and more luxurious.
The pilaf keeps well in the refrigerator for up to four days. Reheat in a covered skillet over medium-low heat with a splash of broth or water to restore moisture, or microwave in a covered bowl with a tablespoon of water for two minutes. The almonds will soften in the fridge, so if crunch matters to you, toast a fresh batch and add them just before serving.
You can also prep components ahead. Roast the garlic and toast the almonds up to three days in advance. Store the garlic paste in a small sealed container in the fridge and the almonds in a jar at room temperature. On serving day, you only need to cook the shallots, toast and bake the quinoa, and assemble.
At 240 calories per serving, this pilaf delivers substantial nutrition for a side dish. The combination of quinoa and almonds provides 8 grams of protein and 5 grams of fiber. The olive oil and almonds contribute healthy monounsaturated fats. The dish is naturally vegan and gluten-free without any substitutions required.
For a lighter version, reduce the almonds to two tablespoons and use one tablespoon of olive oil total instead of two. This brings the calories closer to 190 per serving while keeping the essential flavors intact. For another flavorful quinoa side with a Mediterranean profile, our lemon herb quinoa offers a simpler weeknight-friendly version.
Preheat the oven to 400 degrees Fahrenheit. Slice the top quarter off the head of garlic to expose the cloves. Place the garlic cut-side up on a small piece of aluminum foil, drizzle with one teaspoon of olive oil, and wrap tightly. Roast on the oven rack for 30 to 35 minutes until the cloves are deeply golden and soft enough to squeeze out with gentle pressure. You can start this step before prepping the other ingredients since the garlic needs the most time.
While the garlic roasts, heat one tablespoon of olive oil in an oven-safe skillet or Dutch oven over medium heat. Add the sliced shallots and cook, stirring occasionally, for 5 to 7 minutes until they soften and turn translucent with golden edges. The shallots add a sweet, mild allium flavor that is more delicate than onion and pairs perfectly with the roasted garlic.
Add the rinsed quinoa to the skillet with the shallots. Stir and toast the quinoa for about 2 minutes until it smells nutty and you hear a few grains begin to pop. Toasting the quinoa in the fat before adding liquid is the pilaf technique, and it makes a real difference. The grains develop a deeper flavor and a slightly firmer texture than simply boiling them in water.
Pour in the vegetable broth and add the salt, pepper, thyme, rosemary, and red pepper flakes if using. Stir once to distribute the herbs evenly. Bring the mixture to a boil on the stovetop, then cover the skillet with a tight-fitting lid or aluminum foil and transfer to the oven. Bake at 400 degrees for 18 to 20 minutes until the quinoa has absorbed all the liquid and is tender with visible spirals around each grain.
While the quinoa bakes, toast the almonds. Spread them in a single layer on a small baking sheet or in a dry skillet over medium heat. Toast for 3 to 4 minutes, stirring frequently, until golden and fragrant. Remove immediately from the heat since almonds go from toasted to burned very quickly. Set aside.
When the garlic is done roasting, unwrap it and let it cool for a minute or two. Squeeze the soft cloves out of their papery skins into a small bowl and mash with a fork into a rough paste. You should have about two tablespoons of roasted garlic paste.
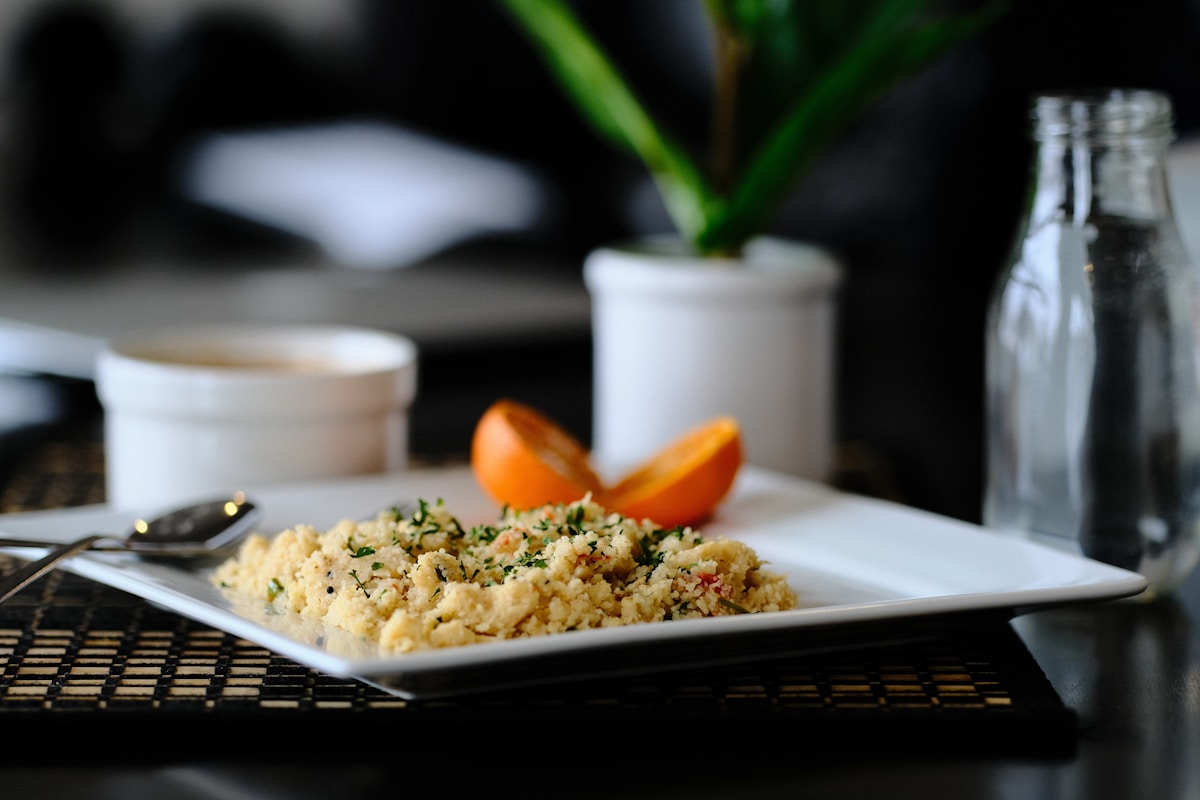
Remove the quinoa from the oven. Uncover and fluff with a fork. Add the roasted garlic paste, remaining tablespoon of olive oil, lemon zest, lemon juice, and chopped parsley. Fold everything together gently until the garlic is distributed throughout. Taste and adjust salt if needed. Transfer to a serving dish and top with the toasted almonds. Serve warm or at room temperature.
Join 1,000+ home cooks who get weekly quinoa recipes and tips.
No spam. Unsubscribe anytime.